Table of Contents
Choose Options
This is the second step in the import process as indicated in the interface.

In this step, you will make selections that streamline the data resolution process.
If there is ambiguity regarding how data should 'fit' within the database structure, these options enable Quadra to make decisions based on rules you establish. This is useful when there are numerous records with similar issues needing resolution before they can be imported.
- After uploading a file, proceed to the Choose Options step.
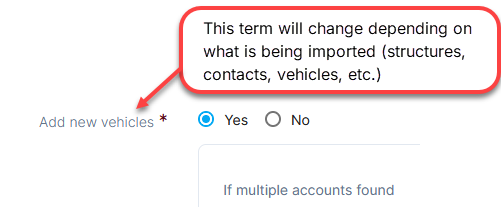
- Select Yes or No for Add new. If you select Yes, select an option on how Quadra should process the data if multiple accounts are found. Read more about these available options.
- Select Yes or No for Edit existing. If you select Yes, you will need to select additional options that will tell Quadra how to process data if errors are found within the rows. Read more about these available options.
- Select Yes or No for Validate Totals. If you select Yes, you will need to fill in additional fields that specify the quantities expected for row count and/or value.
- Click Next to proceed to the next step, Validate Data.

When importing Accounts Receivable data, only the Add new options will be available.
For clarity, the type of asset or object being imported will be specified in the options.